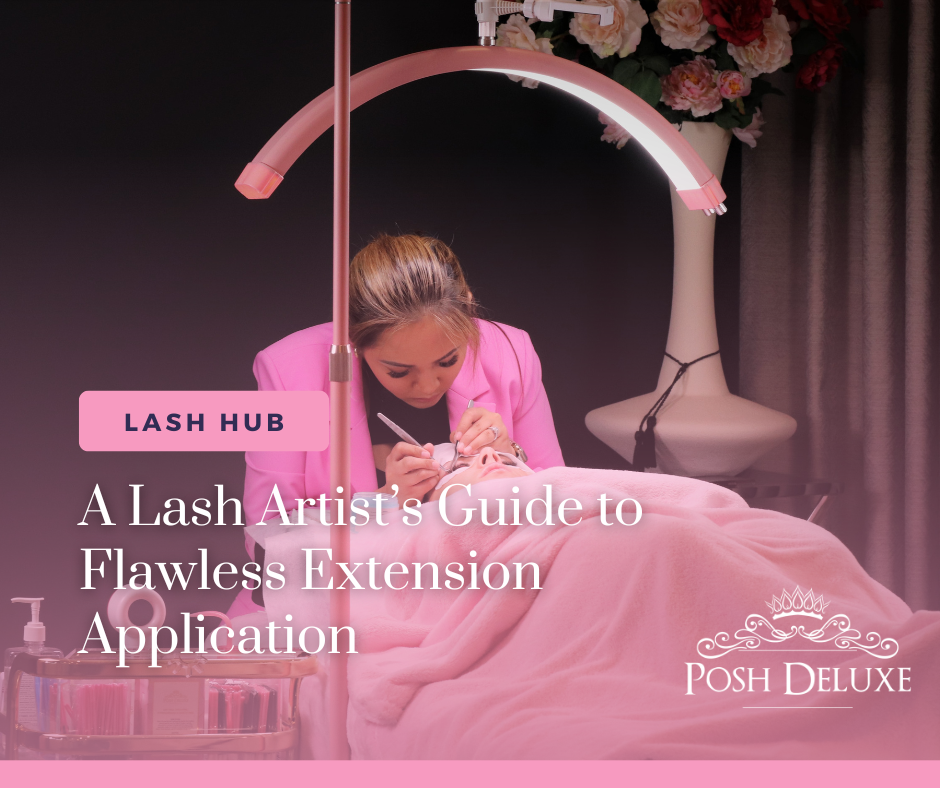
If you're a lash artist looking to perfect your application technique, understanding how to glue eyelashes on correctly is essential. It's not just about placing extensions—it's about using the right products, prepping properly, and ensuring long-lasting retention.
As a trusted lash supplier in Australia, Posh Deluxe provides premium eyelash extensions and adhesives to help you deliver beautiful, long-lasting results. This guide breaks down everything you need to know to glue lashes on the right way, every time.
Tools You’ll Need
- Before you begin, make sure you’re fully equipped:
- Professional lash tweezers (isolation and placement)
- Posh Deluxe eyelash extensions (classic, volume, or hybrid)
- Posh Deluxe lash adhesive suited for your skill level and environment
- Lash cleanser and primer
- Lash tape or eye pads
- Boosters
- A hygienic workspace with proper lighting and ventilation
How to Glue Eyelashes On: Step-by-Step
Step 1: Cleanse and Prime the Natural Lashes
Before applying any lash extensions, it’s crucial to start with a clean base. Gently wash the client’s lashes with a lash shampoo to remove any oils, dust, or makeup residue. This helps ensure proper bonding.
After cleansing, apply a lash primer like Wrap Perfecto to remove any remaining oils and prepare the natural lashes for optimal adhesive grip.
Step 2: Prepare Your Lash Adhesive
Use a professional lash glue like Elite Bond Adhesive from Posh Deluxe. It’s known for fast drying, strong retention, and great performance under various humidity levels.
- Dispense a fresh drop of glue every 25-40 minutes.
- Dip the base of your lash extension into the adhesive, ensuring a microbead at tip that will hug the natural lash..
Let the adhesive sit for about 30 seconds until it becomes slightly tacky—this improves control and placement.
Step 3: Apply the Lash Extension
Using your isolation tweezer, isolate one natural lash. With your placement tweezers, attach the extension 0.3-0.5mm away from the eyelid skin, ensuring a clean bond without touching the skin.
Hold for a few seconds to allow the adhesive to begin curing.
Step 4: Boost Retention and Cure
To speed up the curing process and lock in better retention, apply a small amount of Superbonder Liquid after application. This advanced formula helps secure the bond faster and strengthens the connection between the natural lash and the extension.
It’s a game-changer for ensuring longer-lasting results—especially in high-humidity environments.
Pro Tips for Longer Retention
- Use a humidity-matched adhesive from Posh Deluxe to suit your room conditions.
- Always use fresh adhesive drops every 25-40 minutes during a session.
- Don’t overload the extension with glue—just a microbead enough to hug the natural lash.
- Educate clients on aftercare to improve retention and lash health.
Common Mistakes to Avoid
- Gluing multiple lashes together (causes damage and discomfort)
- Using too much adhesive (leads to stickies and damage)
- Attaching to skin or too far from the lash line
- Skipping lash cleansing and priming
Why Choose Posh Deluxe Adhesives and Extensions?
At Posh Deluxe, we supply high-quality eyelash extensions and adhesives trusted by lash professionals across Australia. Our products are designed for precision, retention, and ease of use—no matter your skill level.
As your go-to lash supplier in Australia, we offer everything lash artists need to master their craft and grow their business—from premium lashes and fast-drying adhesives to tweezers and lash accessories and expert-prep products like Wrap Perfecto and Adhesive Booster.
How to Glue Eyelashes On Professionally
Knowing how to glue eyelashes on correctly is the foundation of exceptional lash work. When paired with expert technique and professional products from Posh Deluxe, you can achieve stunning results that keep your clients coming back.
Explore our full range of lash extension supplies and take your lash business to the next level with Posh Deluxe—Australia’s trusted partner for lash professionals.


