



Professional Lash Training In Australia
Build your lash career with confidence through professional, hands-on training designed for aspiring lash artists who want to learn the correct techniques from the beginning.
At Posh Deluxe, our training goes beyond basic lash application. We focus on real salon standards, modern lash styles, product knowledge, retention, safety, and client experience — so you understand not just how to lash, but why certain techniques and products work.
This 4-week course is personally guided by Paola Yit, an award-winning lash artist and educator with over 9 years of industry experience and 50+ lash awards. Unlike many trainers who no longer work on clients, Paola is still actively taking lash clients, testing products, refining techniques, and staying updated with the latest trends and industry developments.

Why Posh Deluxe?
There are a lot of lash courses out there.
Some are short. Some are cheap. Some give you a certificate and send you off. But here’s the truth most people don’t talk about…
A lot of new lash artists struggle not because they’re not talented —
but because they were never taught properly in the first place.
At Posh Deluxe, we don’t just teach you how to apply lashes. We teach you how to understand them.
Learn From An Award-Winning Lash Artist Still Active In The Industry
NEW CURRICULUM
Our updated curriculum focuses on modern lash techniques, retention, product knowledge, client safety, and real salon standards used in today’s lash industry.
6 LIVE MODELS
Gain real hands-on experience across multiple lash styles and eye shapes while building confidence working on actual clients throughout your training.
$900+ LASH KIT
Train with professional-quality products and tools used inside Posh Deluxe salon, carefully selected to help students achieve better results from the beginning.
ADVANCED PRODUCT INTEL
Learn how professional lash products work together to improve application, retention, and overall lash results.
AWARD-WINNING LASH TRAINER
Learn directly from Paola Yit — an award-winning lash educator with over 9 years of experience, 50+ lash awards, and active salon experience with real clients.
ONGOING SUPPORT
Your learning doesn’t stop after the course. Receive continued guidance, support, and industry advice as you begin your lash career journey.

Want to Know More?
Explore our complete Eyelash Extension Foundation Course Guide for everything you need to know before enrolling.
Posh Deluxe Lash Training is built for serious beginners who want to learn properly from day one.
Paola's Award-Winning Lash Works
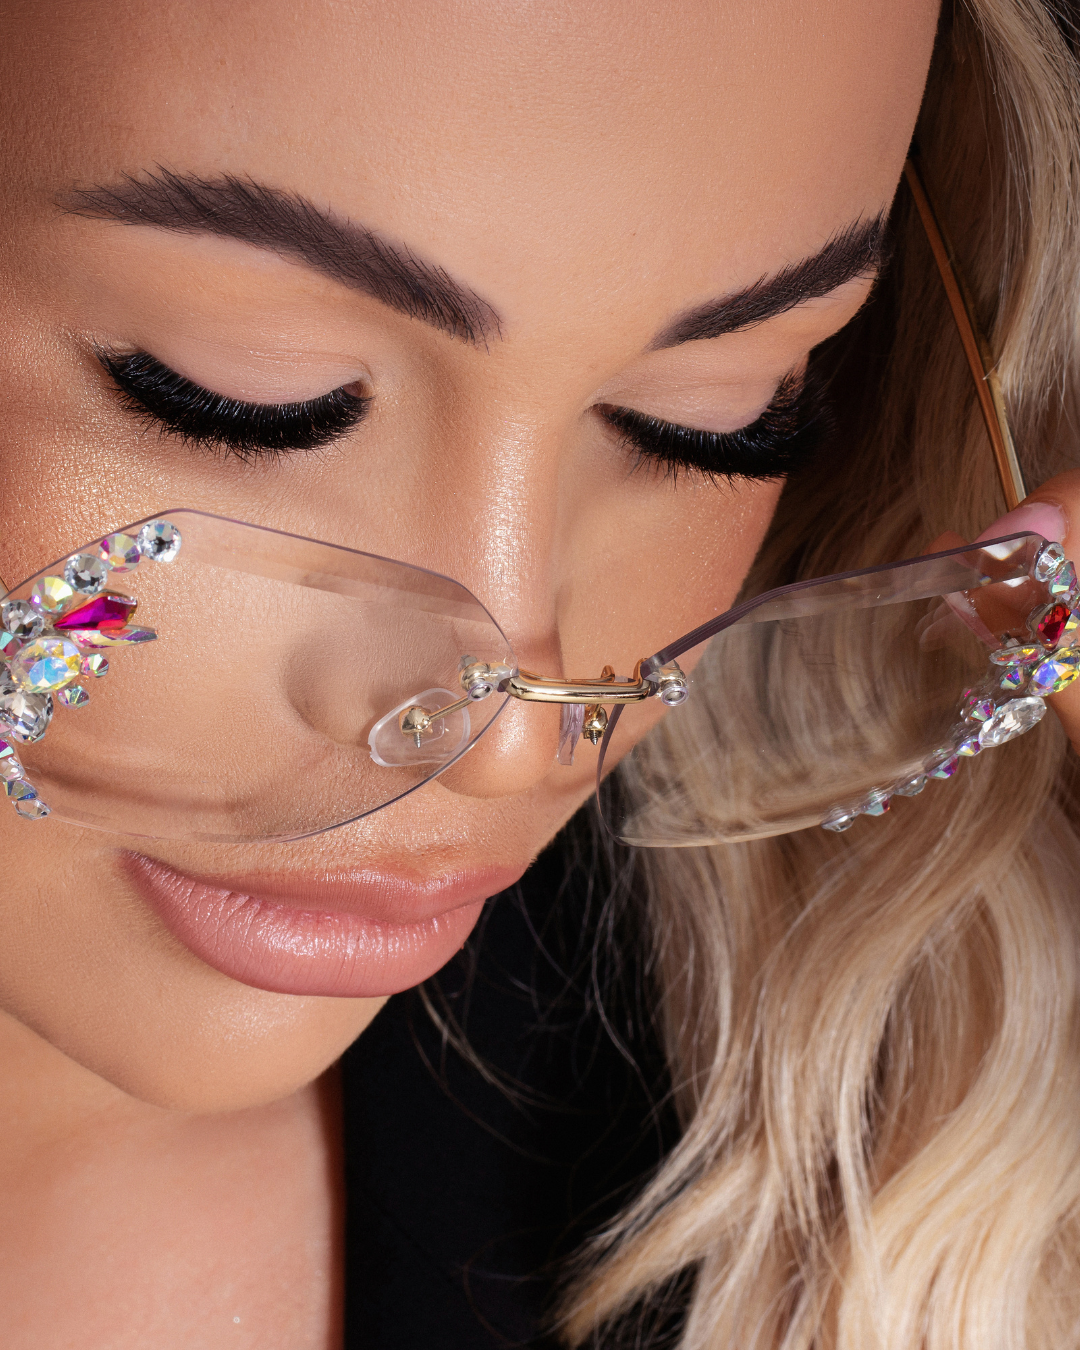
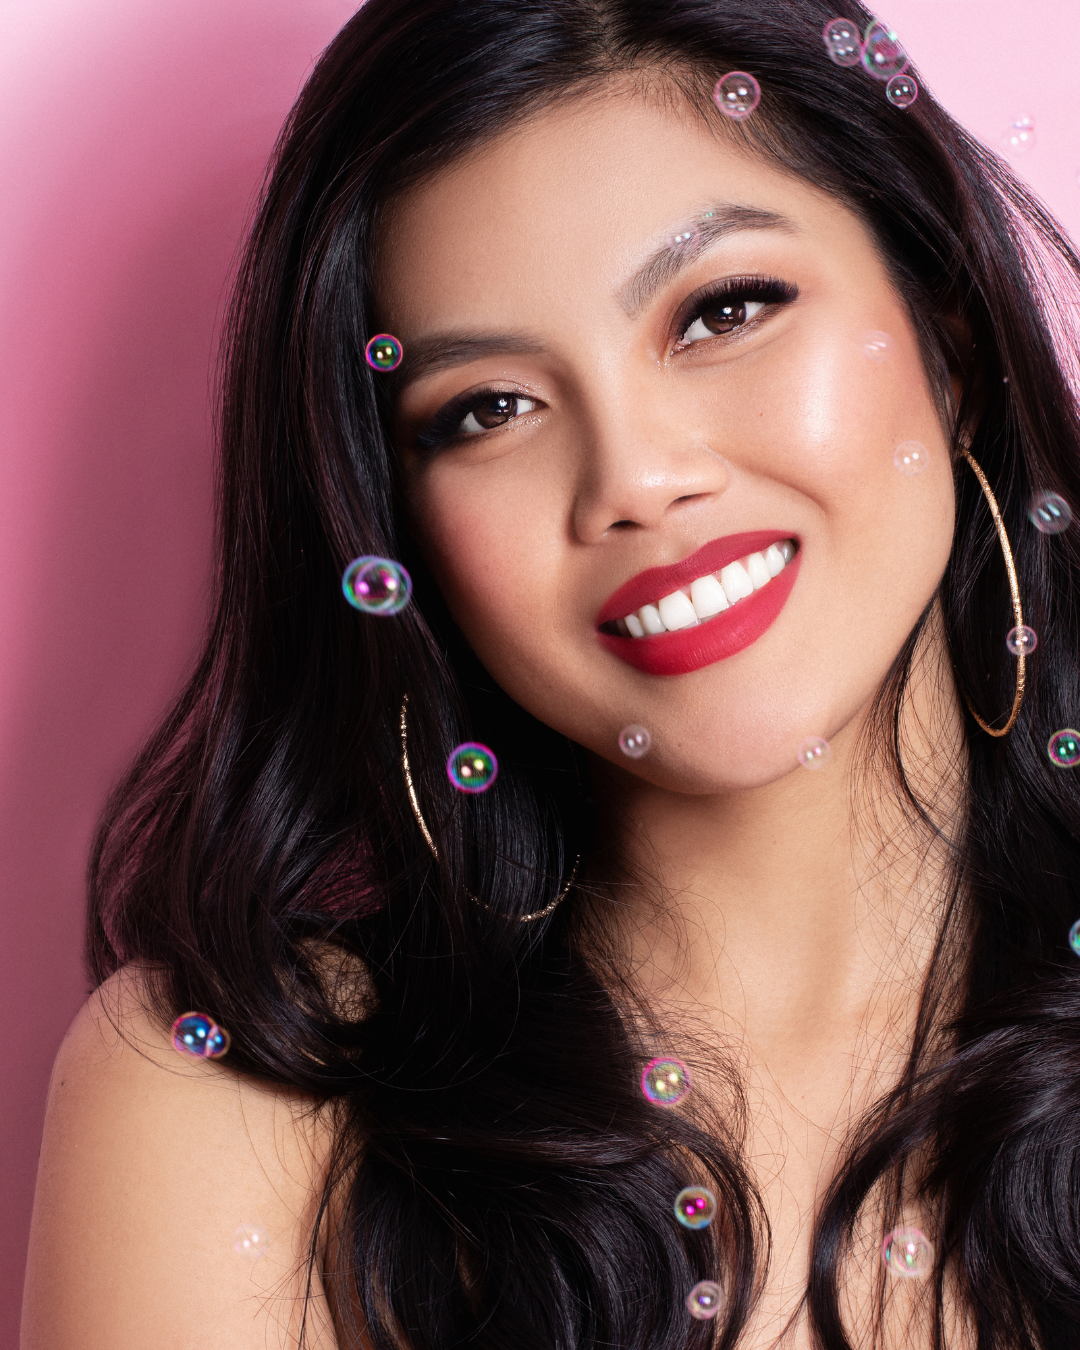
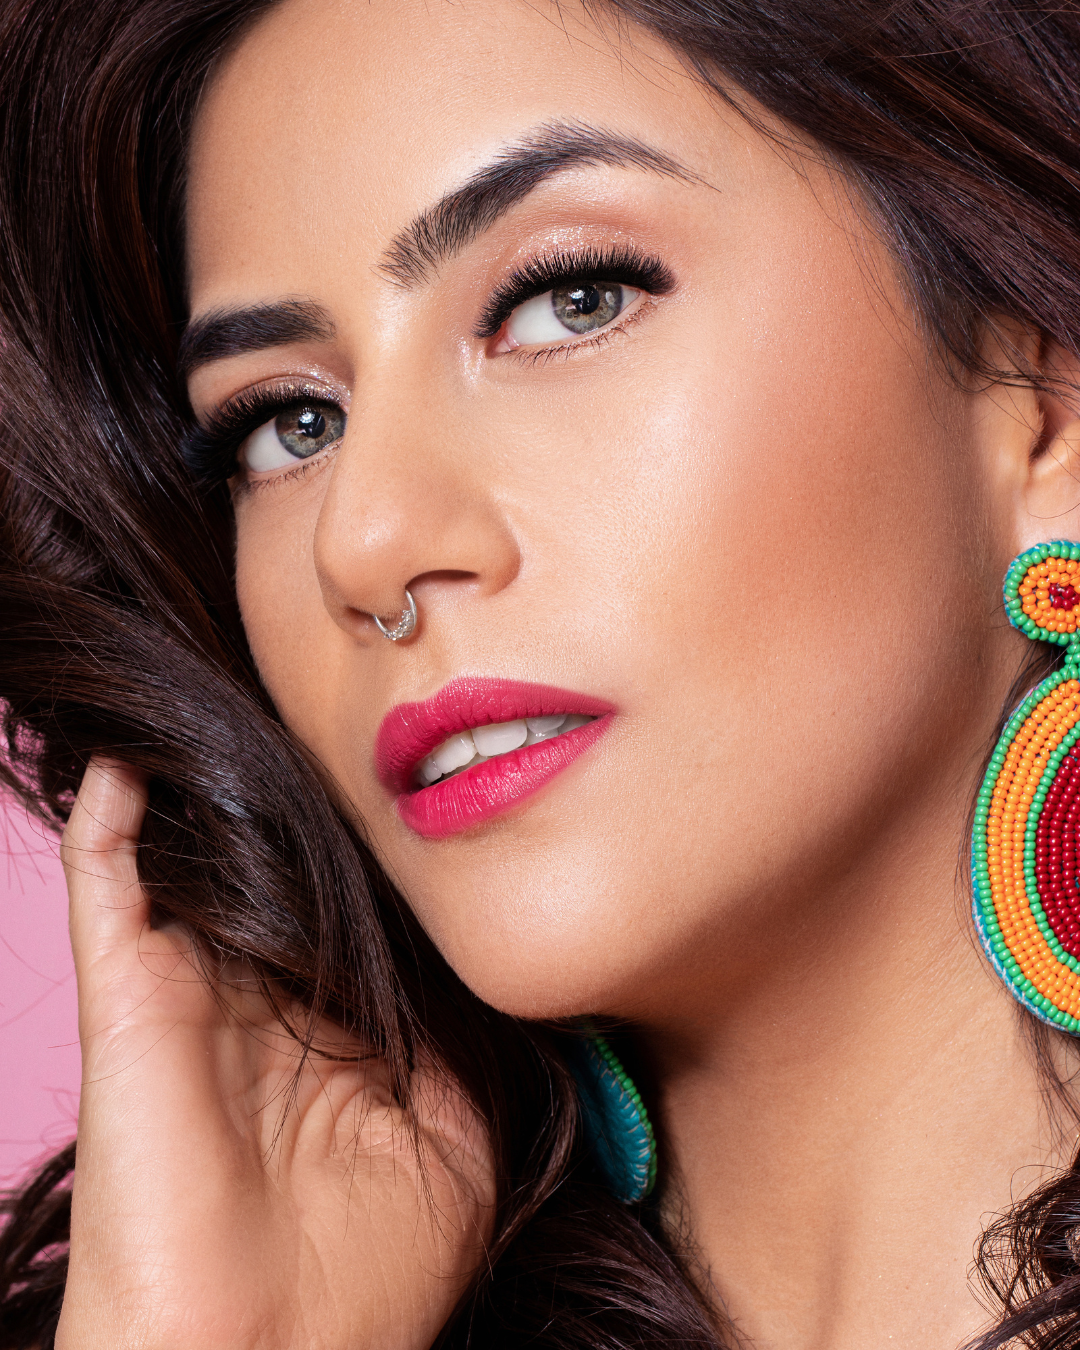
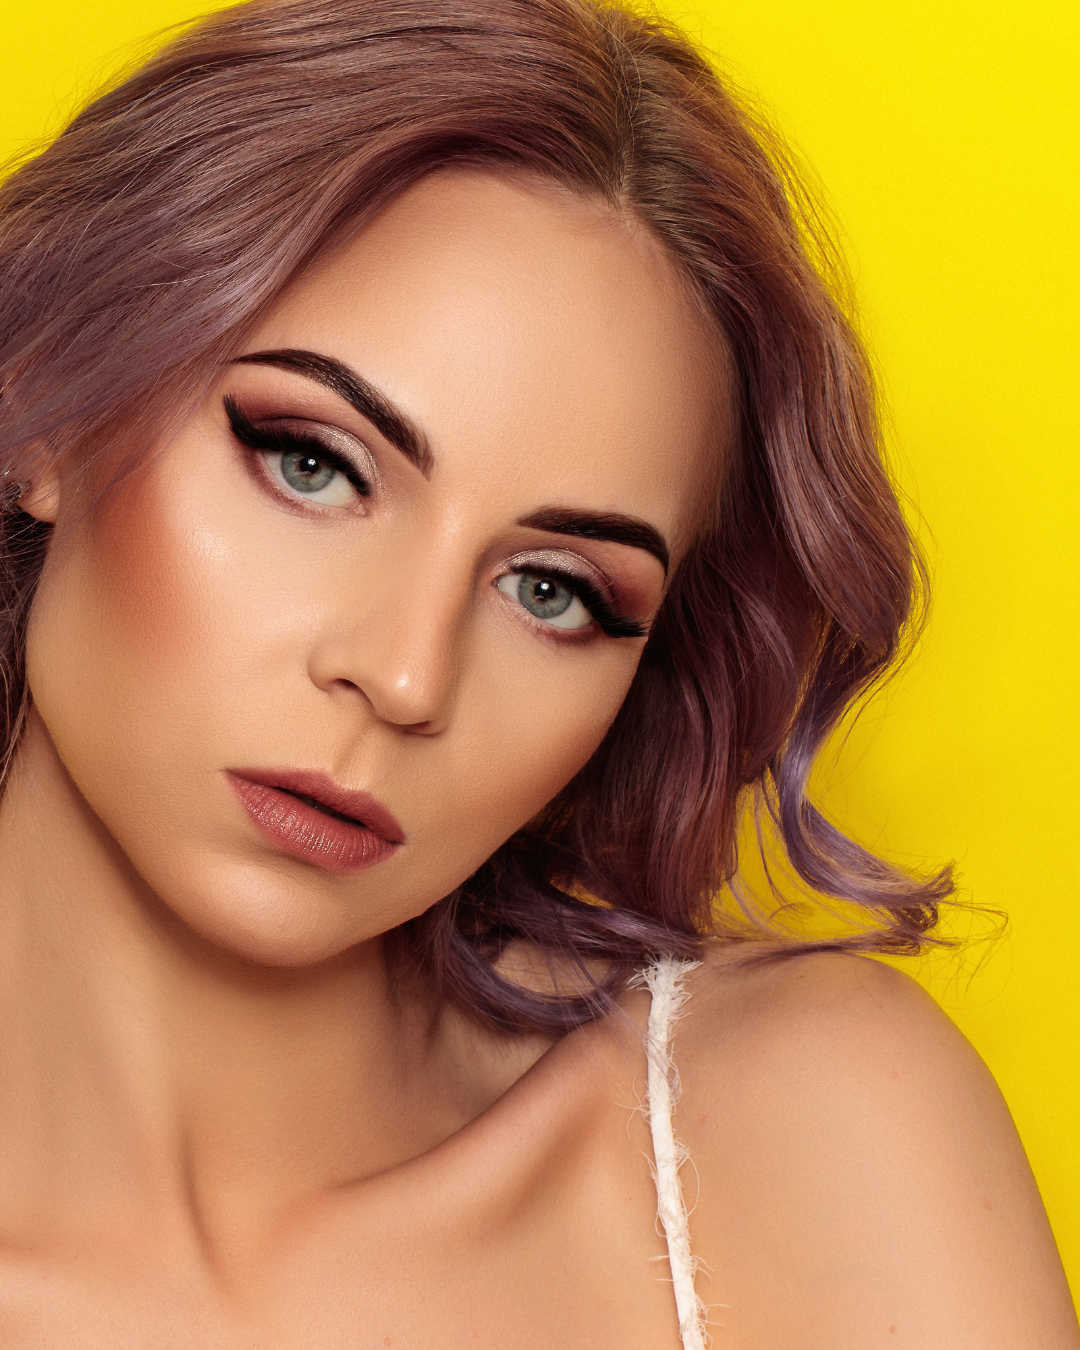

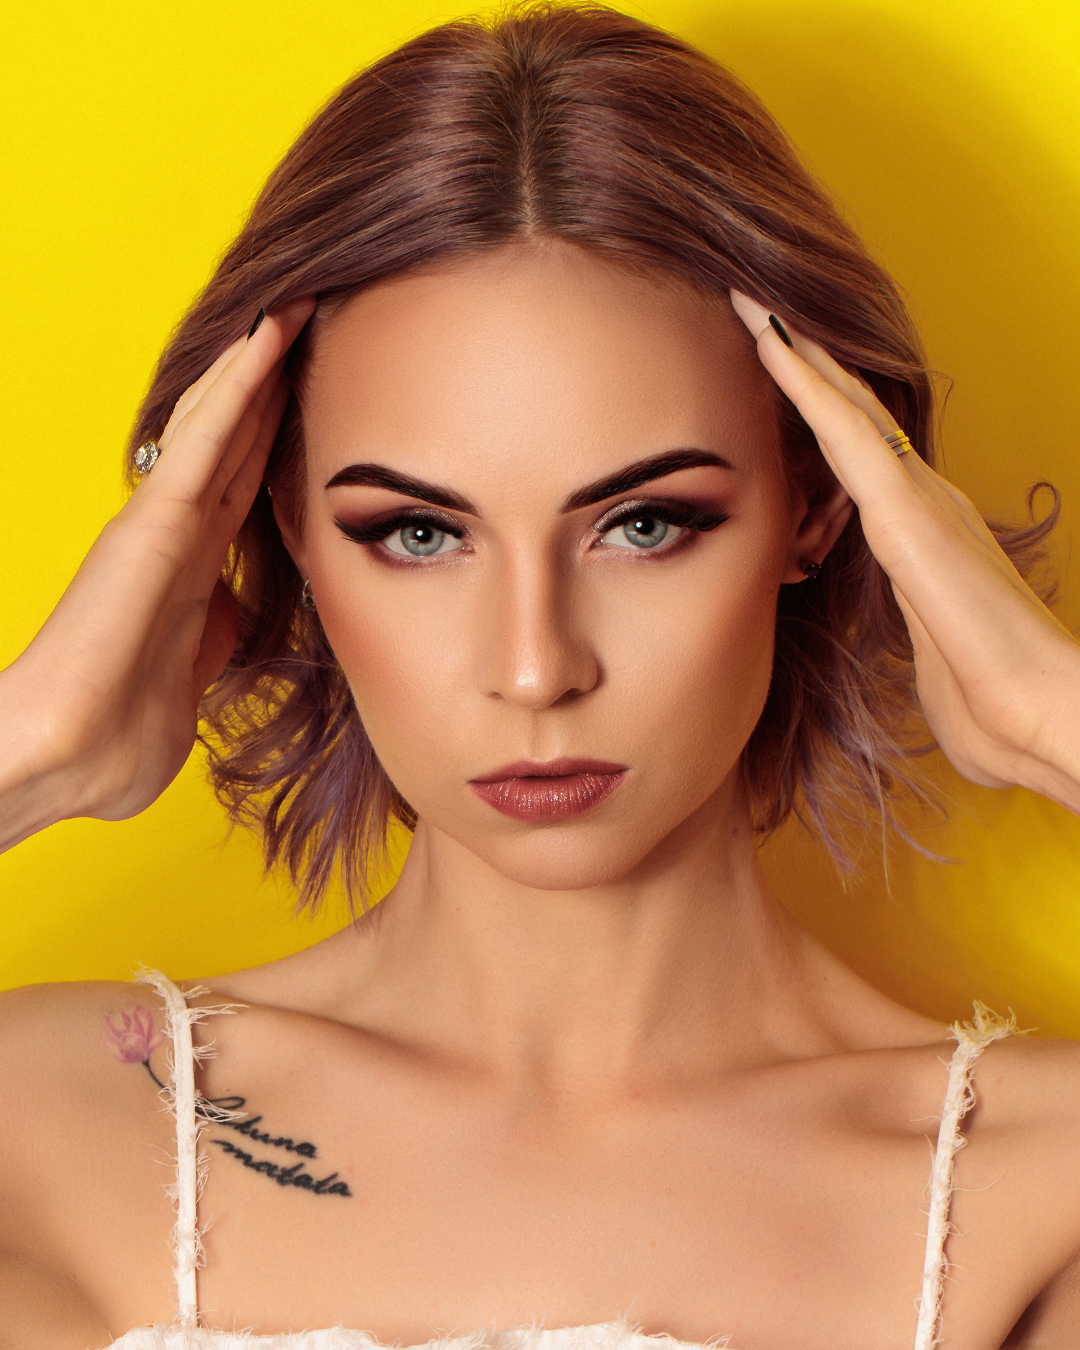
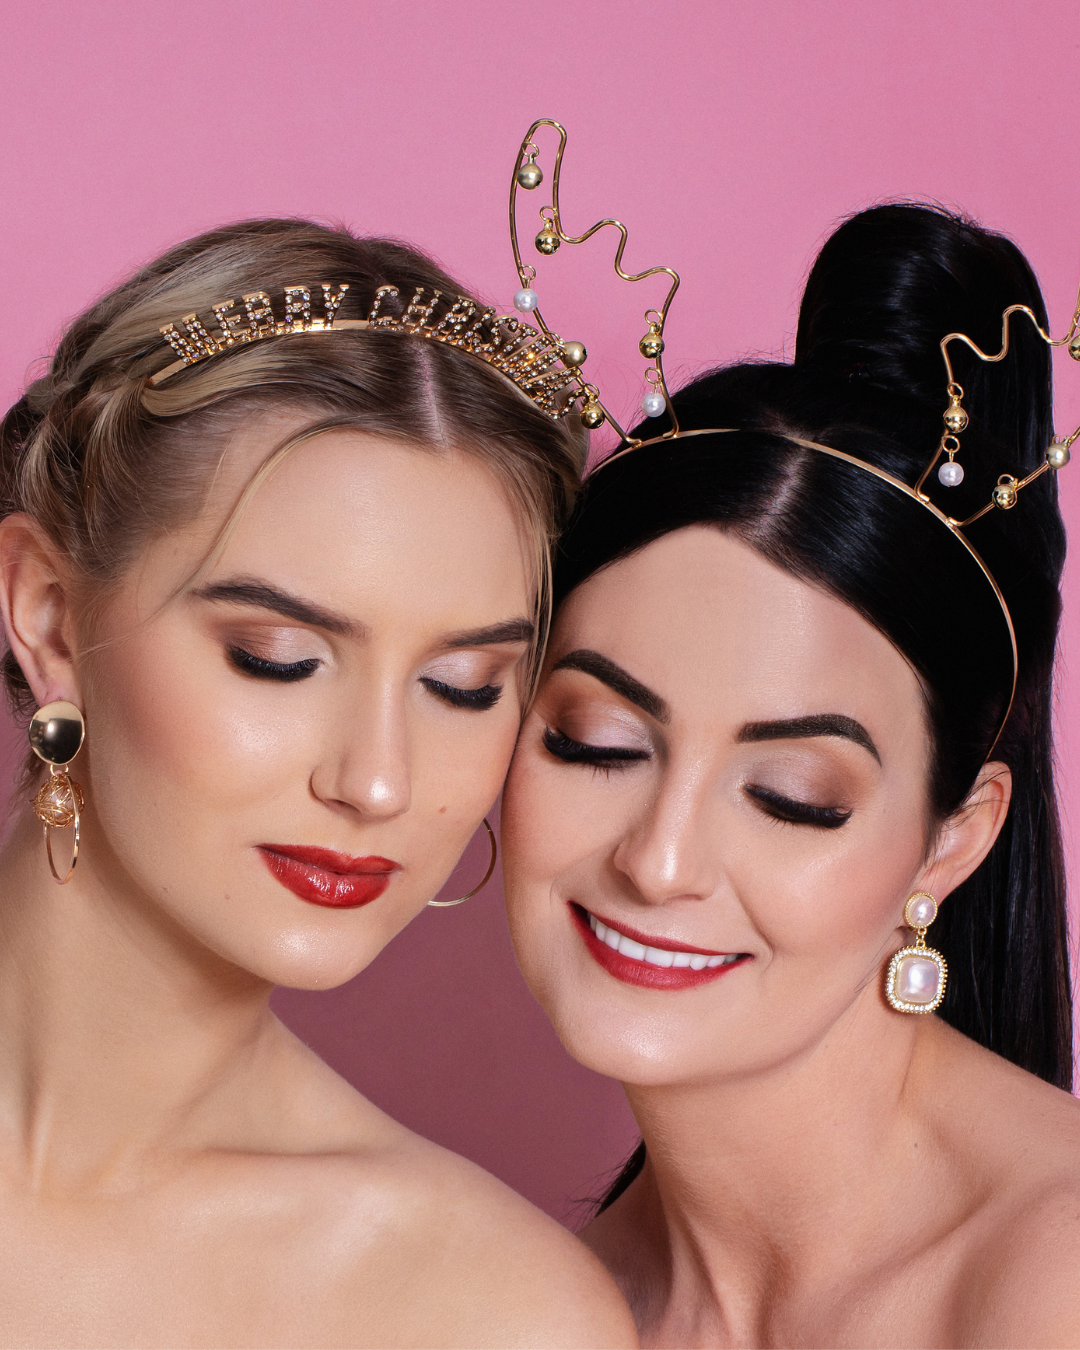
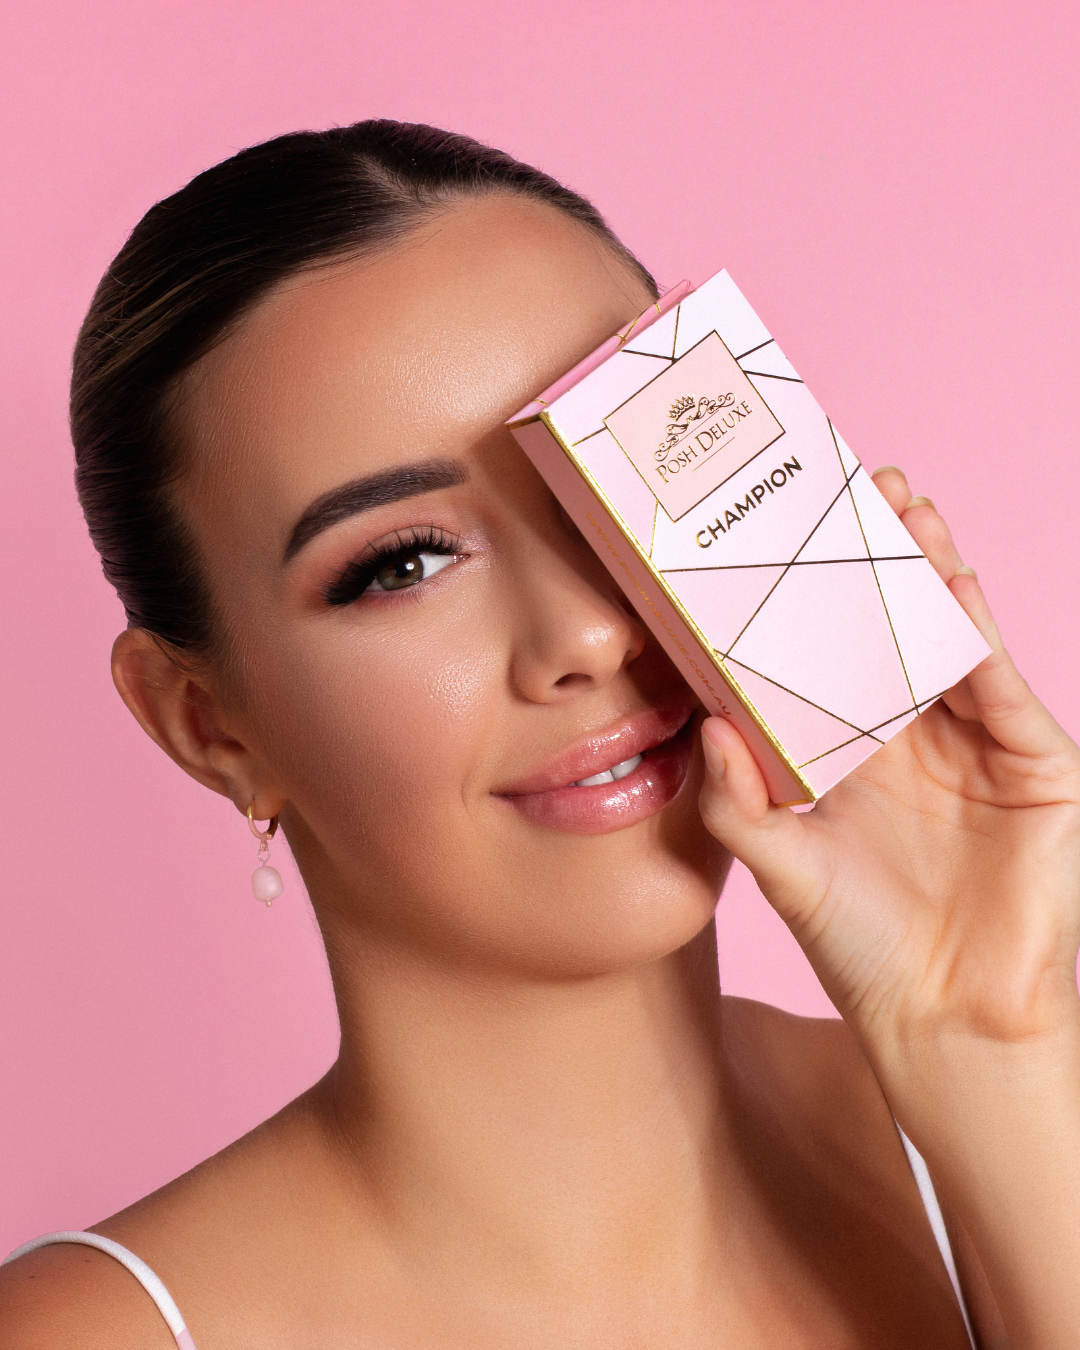

What makes her different from other lash trainers?
Paola is not a trainer who stopped taking clients years ago.
She is a trainer who is still actively working on real clients every single week — constantly learning, improving, testing products, refining techniques, and staying updated with the fast-changing lash industry.
With over 9 years of hands-on experience in eyelash extensions, Paola has spent years not only perfecting lash artistry, but also understanding retention, styling, client experience, speed, business growth, product performance, and real salon challenges.
Over the years, she has entered multiple lash competitions — not simply to win trophies, but to push herself beyond comfort zones and absorb as much knowledge as possible from some of the best artists in the industry worldwide. Every competition became another level of growth, precision, discipline, and technique refinement.

Her teaching style is known to be intense — because perfection is built through proper habits from the very beginning.
Many of the artists she trained started with absolutely zero experience. Today, they are confidently creating beautiful lash sets using the same standards, techniques, and attention to detail that Paola personally developed over years of experience.
Even experienced lash artists who join her training often realise how much deeper lash knowledge truly goes.
This course is not about reading from a manual and hoping students understand the theory.
Paola teaches using real lashes, real client situations, real retention problems, real styling corrections, and real industry experience. You will learn how to properly work with every single natural lash — not just how to “stick lashes on.”
This is the difference between learning from someone who truly lives the industry… and someone who only teaches from a book.
Posh Deluxe Lash Training was created for students who want genuine industry-level education, modern techniques, honest guidance, and the kind of knowledge that only comes from years of real experience behind the lash bed.
No shortcuts. No outdated methods. Just real education from a real working lash artist.


Student Benefits
- 15% off Posh Deluxe Professional Products
- 10% off Posh Deluxe Salon Services
- Ongoing Student Support
- Social Media & Portfolio Tips
- Potential Traineeship Pathway
- Opportunity to Work Alongside the Posh Deluxe Team
- Potential Employment Opportunities at Posh Deluxe (for outstanding students)
- Guidance on Starting Your Own Lash Business
- Professional Portfolio Photoshoot


Download Our Course Guide
Everything you need to know about our Eyelash Extension Foundation Course, including training structure, course inclusions, professional kit, certification and investment.
Frequently Asked Questions
Do I need any experience to join the course?
Do I need any experience to join the course?
No. Our beginner courses are designed for students with no previous lash experience.
Do I receive a certificate?
Do I receive a certificate?
Yes. A certificate will be issued upon successful completion of the course requirements.
Is a student kit included?
Is a student kit included?
Yes. We provide a professional student kit so you can start practising immediately.
Will I work on a live model?
Will I work on a live model?
Yes. Practical training is an important part of the course. Students are required to provide a total of 6 models throughout their training.
It is the student's responsibility to organise their own models. The trainer is not responsible for finding or providing models on behalf of students. We recommend arranging your models well in advance to ensure your training runs smoothly.
How many students are in each class?
How many students are in each class?
Most of our training courses are conducted as one-on-one sessions, allowing you to receive personalised attention and support throughout your training.
From time to time, we may also offer small group classes. These classes are limited up to four students to ensure everyone receives quality training and guidance.
Will I receive support after the course?
Will I receive support after the course?
Yes. We provide ongoing student support to help you build confidence and improve your skills after training.
Can I start a lash business after completing the course?
Can I start a lash business after completing the course?
Yes. Our training provides the knowledge, practical skills, and confidence needed to begin your lash career.
We will also guide you through the essentials of starting your lash business, including insurance requirements, client consent forms, consultation forms, aftercare forms, hygiene practices, and other important documents and procedures commonly used within the industry.
Like any skill, continued practice is essential to improve your speed, confidence, and technique before working regularly on clients.
Do I need insurance after the course?
Do I need insurance after the course?
If you plan to work on paying clients, we recommend obtaining appropriate insurance before offering services.
Do I need to bring anything?
Do I need to bring anything?
No. All training materials and equipment required during the course are provided.
How do I book a course?
How do I book a course?
Simply complete the enquiry form on this page. Once we receive your enquiry, we will email you all the course information, including pricing, available training dates, course inclusions, and enrolment details
Do you offer payment plans?
Do you offer payment plans?
Please contact us to discuss available payment options.
Can I become part of the Posh Deluxe team after training?
Can I become part of the Posh Deluxe team after training?
Outstanding students may be considered for future traineeship or employment opportunities when positions become available.
Do you also teach Russian Volume or just the Beginner Lash Course?
Do you also teach Russian Volume or just the Beginner Lash Course?
Yes. We offer both Beginner Lash Training and Advanced Russian Volume Training.
Russian Volume Training is taught by Paola, an award-winning lash trainer with extensive experience in Russian Volume techniques.
To enrol in the Russian Volume course, students must have already completed a Beginner or Classic Lash Extension course and hold a certificate of completion. Please contact us directly for more information, course availability, and entry requirements.
What is a Professional Portfolio Photoshoot?
What is a Professional Portfolio Photoshoot?
For your final two training models, Paola will professionally photograph your work to help you start building a high-quality portfolio.
As an award-winning lash artist, trainer, professional photographer, and retoucher, Paola understands exactly how to capture lash sets in a way that showcases your work at its best. These images can be used for your social media, portfolio, website, and future marketing materials as you begin your lash career.
This is one of the unique benefits available to Posh Deluxe students and helps you create professional-looking content from the very beginning of your journey.

Posh Deluxe Lash Hub Blogs

How to Photograph Lash Extensions: A Macro Lens Guide for Lash Artists (2026)
Your photos are your portfolio. Most new clients will see your work on Instagram, TikTok or Google before they ever sit in your chair, and a blurry, badly lit photo can make a beautiful set look average. Close-up macro shots fix that. They show what clients can't see from arm's length: clean isolation, even fans, smooth mapping and no stickies. They also show other artists, and future students, the quality of your technique. This guide covers the gear you need (just your phone and a few small tools), how to set up the shot, a six-photo shot list for every set, and how to edit and post without losing detail. The Gear You Need You don't need a professional camera. A recent smartphone, a macro lens, good light and a steady hand will produce photos that look like they came from a studio. Built-in iPhone macro vs a clip-on macro lens Recent Pro-model iPhones (from the iPhone 13 Pro) have a built-in macro mode that switches on automatically when you get close. It works, but you have to hold the phone very close to the eye, often around 2 cm away. That can cast a shadow over the lashes and feels intrusive for the client. A clip-on macro lens is made for detail shots, and it works on almost any phone. Built-in iPhone macro Clip-on macro lens Cost Free on supported iPhones From $44.95 Works on iPhone 13 Pro and later Pro models Almost any phone (clip), or a matching case for a steadier fit Distance from the eye Very close, about 2 cm Designed for close-up detail work Shadows Phone often blocks the light Easier to light the eye evenly Best for Quick everyday snaps Portfolio, Instagram and education content The Posh Deluxe Mobile Macro Lens has an aluminium body, precision glass and a listed 40–75 mm focal range. It comes with a clip, case and cleaning cloth ($44.95). You can also get it with a matching iPhone case ($64.50) for the iPhone 13, 14 and 15 Pro and Pro Max. The case holds the lens perfectly lined up with the camera, so there's no slipping between shots. Lighting Light matters more than the lens. You want soft, even light from the front, never harsh overhead light. A ring light or lash lamp placed in front of the client gives even light and a nice catchlight. Daylight from a window is beautiful but changes during the day. Face the client towards the window, not away from it. Turn off mixed light sources. Warm room lights plus a cool lamp give lashes an odd colour cast. Stability Macro shots magnify every wobble. Rest your elbows on the lash bed or use a small phone stand. Take the photo with the volume button or a 3-second timer, so tapping the screen doesn't shake the phone. How to Take the Photo, Step by Step Finish and check the set first. Brush through with a clean spoolie and check for stickies under magnification. A macro lens shows every flaw, so fix them before you shoot. LED magnifying glasses make this final check much easier. Clean the skin. Remove eye pads, tape marks and any glue residue. Wipe away shine on the lid if it reflects the light. Position the client. Have the client sitting up or lying back with eyes gently closed and relaxed. Squeezed lids crease the skin and push the lashes out of line. Set up the light in front of the client at eye level. Clean the lens. Fingerprints on the phone camera or the macro lens are the most common cause of hazy photos. Use the cloth that comes with the lens. Find the focus distance. Move the phone slowly towards or away from the eye until the lashes snap into focus. With a macro lens, small movements matter, so move the phone, not the zoom. Tap to focus on the lash line, then lower the exposure slightly so black lashes don't lose detail. Take a burst. Shoot 10–15 frames from each angle and keep the sharpest one. The 6 Photos to Take of Every Set Take the same six shots of every client and you'll never run out of content. Shot How to take it What it shows 1. Before Natural lashes, eyes closed, same light and angle as the after shot The starting point for a before-and-after 2. Eyes closed, straight on Phone level with the lid, both eyes in frame The overall shape and symmetry of the set 3. Side profile Phone at the outer corner, level with the lashes Curl, length and lift 4. Macro lash line Macro lens, filling the frame with the lash line Isolation, clean bases and no stickies 5. Macro fans or mapping Macro lens on the outer third Fan spread, or how your lash map flows. Close-ups also show smooth transitions. 6. Eyes open Client looking slightly up, phone at eye level How the set looks in real life Keep the light and phone position the same for before and after shots, so the only thing that changes is the lashes. Editing and Posting Your Lash Photos Edit lightly Do: crop, straighten, and adjust brightness, contrast and white balance so the skin looks natural. Do: sharpen slightly to bring out lash detail. Don't: edit the lashes themselves, add lashes, or fill gaps. Clients book based on your photos, so they need to show what you actually deliver. Don't: use heavy beauty filters. They blur the very detail the macro lens captured. Get client consent Always ask before you photograph a client or post their photo. Add a photo consent line to your consultation form, and let clients choose whether you can show their full face or only the eyes. Closed-eye macro shots are often an easy yes, even for clients who don't want their face online. Posting tips Post the before and after side by side, or as a carousel. Name the set in the caption, for example classic, hybrid or volume, plus the curl and length. Other artists love the detail, and clients learn what to ask for. Add your suburb and booking link. Consistent, high-quality photos are one of the best ways to get lash clients. Frequently Asked Questions Do I need a macro lens to photograph lashes? Not strictly. Recent Pro-model iPhones have a built-in macro mode. A clip-on macro lens is easier to use for lash work, because you don't have to hold the phone right up against the client's eye, and it's easier to light the eye evenly. What is the best macro lens for iPhone lash photos? Look for a lens with good glass, a sturdy body and a way to keep it lined up with the camera. The Posh Deluxe Mobile Macro Lens has an aluminium body, precision glass, and an optional matching case for the iPhone 13, 14 and 15 Pro and Pro Max. What lighting is best for lash photos? Soft, even light from the front, such as a ring light, a lash lamp or daylight from a window. Avoid overhead lights and mixing warm and cool light. Why are my lash photos blurry? The usual causes are a dirty lens, camera shake, or being slightly outside the focus distance. Clean the lens, steady your elbows, take a burst, and move the phone slowly until the lashes come into focus. Can I post photos of my clients' lashes? Only with their permission. Add a photo consent line to your consultation form, and let clients choose between eyes-only and full-face photos. The Bottom Line Great lash photos come down to a clean set, soft front light, a steady phone and a macro lens that shows the detail. Take the same six shots of every client, edit lightly, and you'll build a portfolio that sells your work for you. Show off every detail. Shop the Posh Deluxe Mobile Macro Lens, with or without a matching iPhone case, shipped Australia-wide.
Learn more
Lash Tape Guide: Micropore vs Nitto vs Skinergate (and When to Use Hydrogel Pads)
The right lash tape does three jobs. It holds the lower lashes out of the way, it lifts and stretches the lid so you can see the lash line, and it comes off without irritating the client's skin. The wrong tape slips mid-set, lets bottom lashes get glued to the top ones, or leaves sensitive clients red and sore. Most lash artists keep two or three tapes on their trolley, because no single tape is best for every job. This guide compares the three professional tapes Posh Deluxe stocks, explains when to use each one, and shows how they work with hydrogel eye pads. For the taping technique itself, see our step-by-step guide to how to tape eyes for eyelash extensions. The 3 Professional Lash Tapes Compared All three are professional, skin-friendly tapes that tear easily by hand. The differences are the material, how strongly they hold, and how gentle they are on skin. 3M Micropore Nitto Polyethylene Film Skinergate Price $5.95 (2 rolls) $14.99 (2 rolls) $14.99 (2 rolls) Material Paper tape, hypoallergenic, non-latex Transparent, perforated polyethylene film Flexible polyolefin film, moisture-permeable Hold Light to medium Strong, and waterproof Secure and flexible On the skin Gentle Strong hold that removes without trauma Extremely low irritation Size Not listed 12 mm × 7 m 12 mm × 7 m Made in Not listed Japan Japan Best for Everyday taping, glue dots and Superbonder domes Stubborn bottom lashes, oily skin, lifting hooded lids Sensitive skin and securing bottom lashes 3M Micropore: the everyday all-rounder Micropore is the classic lash tape. It's cheap, easy to tear and hypoallergenic, so it suits most clients. It also doubles as a work surface: stick a piece down to hold a glue dot or dome, or a drop of Superbonder. Its hold is lighter than the film tapes, so it can lift away on oily skin. Nitto: maximum hold Nitto polyethylene film is the strongest of the three. It's transparent, so you can see the lashes underneath, and it's perforated and waterproof, so it stays put even on oily skin or watery eyes. Despite the strong hold, it's made to come off without traumatising the skin. Reach for Nitto when bottom lashes keep escaping, or when you need a firm lift on hooded lids. Skinergate: the sensitive-skin choice Skinergate is made from a flexible, moisture-permeable film with a highly breathable acrylic adhesive. It's designed to be extremely low-irritant while still holding securely, which makes it the go-to for clients with sensitive or reactive skin. Which Lash Tape for Which Job? Job Best tape Why Securing bottom lashes under the eye pad Skinergate or Nitto Both hold firmly along the lower lash line. Choose Skinergate for sensitive skin, Nitto for stubborn lashes. Lifting a hooded or droopy lid Nitto Strongest hold, so the lift doesn't relax halfway through the set Clients with oily skin or watery eyes Nitto Waterproof, so it doesn't lose grip Clients with sensitive or reactive skin Skinergate Designed to be extremely low-irritant Glue dots, domes and Superbonder 3M Micropore Cheap, easy to tear, and a clean surface to work on Quick fixes and everyday clients 3M Micropore Gentle and easy to reposition A Metallic Tape Dispenser ($19.95) keeps rolls tidy and gives clean, even cuts. It fits tapes up to 28 mm wide, but isn't suitable for foam tape. Eye Pads: Why Hydrogel, and When to Add Tape Eye pads cover the lower lashes and protect the under-eye skin. Basic foam or paper pads do the job, but hydrogel pads are softer, flexible, and shape themselves to the eye, so they're more comfortable over a two-hour set. Posh Deluxe Hydrogel Eye Pads ($18.95 for 10 treatments, or 20 pads) are infused with collagen. They hydrate the under-eye area while you work, and they're lint-free and easy to reposition. They're made in South Korea, come in a resealable fresh-seal pouch, and are cruelty-free. How to use hydrogel pads with tape Cleanse the under-eye area so the pad sits flat. Use clean tweezers to take out one pair, then reseal the pouch so the rest don't dry out. Place each pad over the lower lashes, keeping it clear of the eye and waterline. Check for lower lashes poking out above the pad. Tape them down with Skinergate. Add a strip of tape on the upper lid if you need extra lift. At the end of the set, check no lashes are stuck together before gently removing the pads and tape. Pads are single use, so throw them away after each client. Taping Clients with Sensitive Skin Redness after a set isn't always an adhesive reaction. Sometimes it's the tape. Signs it's the tape: redness only where the tape sat, which fades within a few hours. Tape-related redness also tends to show up on the lower lid and outer corner rather than along the lash line. Switch to Skinergate for clients who mark easily. Use the smallest piece of tape that does the job. Peel slowly and low, holding the skin with your other hand, instead of pulling straight up. Patch test new hydrogel pads 24 hours before first use on clients with very sensitive skin, as the product label recommends. If redness spreads, lasts more than a day, or comes with swelling or itching, it may be an allergy. Read our guide to lash extension allergy symptoms. Common lash taping mistakes Taping too close to the lash line. Tape that touches the base of the lashes can get glued into the set. Stretching the lid too far. A strong lift changes the angle of the natural lashes, so extensions sit differently once the tape comes off. Using the same tape for every client. Oily skin needs Nitto, sensitive skin needs Skinergate. Reusing pieces of tape. Use fresh tape for each client and keep rolls in a covered dispenser. Frequently Asked Questions What tape do lash artists use? Most lash artists use medical tapes such as 3M Micropore, Nitto polyethylene film tape or Skinergate. Micropore is the everyday choice, Nitto gives the strongest hold, and Skinergate is gentlest on sensitive skin. What is the best tape for bottom lashes? Skinergate and Nitto both hold lower lashes securely under the eye pad. Choose Skinergate for sensitive skin and Nitto for stubborn lashes or oily skin. Is Nitto tape good for eyelash extensions? Yes. Nitto polyethylene film tape is strong, waterproof and transparent, and it comes off without damaging the skin. That makes it a favourite for securing bottom lashes and lifting hooded lids. Are hydrogel eye pads better than foam pads? For most clients, yes. Hydrogel pads are softer and more flexible, shape themselves to the eye, and hydrate the under-eye area during the set. Can lash tape cause irritation? It can, especially on sensitive skin or when removed too quickly. Use a low-irritation tape like Skinergate, use small pieces, and peel slowly while supporting the skin. The Bottom Line Keep at least two tapes on your trolley: Micropore for everyday work and glue dots, plus Nitto or Skinergate for bottom lashes, depending on your clients' skin. Pair them with hydrogel eye pads, and every set starts with a clean, comfortable, well-isolated lash line. Stock up on the essentials. Shop the full Tapes & Eye Patches range at Posh Deluxe, shipped Australia-wide.
Learn more
Lash Lift Kits in Australia: What a Professional Kit Needs and How to Build Your Own (2026)
A professional lash lift kit needs three things: a lifting system (Step 1 and Step 2), a way to hold the lashes on the shield, and the tools to shape them. Everything else, like tint, developer and aftercare cream, adds to the service and to its price. Many boxed kits sold online are made for beginners or home use. They often come with one shield size, a single-use glue, and solutions you can't buy separately when they run out. Building your own kit from professional products costs a little more at the start. You get to choose each part, and you can restock just what runs out. This guide explains what goes in a professional lash lift kit, how Korean and traditional formulas differ, and what a complete kit costs. New to lifting? Start with what is lash lifting. What Goes in a Professional Lash Lift Kit? A complete kit for a lash lift and tint has eight parts. The first five are essential for the lift itself. Kit item What it does Essential? Step 1 lifting solution Softens the lash so it can be reshaped around the shield Yes Step 2 fixing solution Sets the lashes in their new curled shape Yes Silicone shields Set the height of the curl. You need several sizes for different lash lengths Yes Lash adhesive or glue balm Holds the lashes on the shield while the solutions work Yes Lifting brush or tool Separates and places each lash on the shield Yes Tint and developer Darkens the lashes so the lift shows up more Recommended Conditioning cream (Step 3) Restores moisture after the chemical steps Recommended Dye remover and saline Cleans tint off the skin and the shields Nice to have You'll also need consumables you probably already have: under-eye pads, micro brushes, cotton pads and cling wrap. If you're unsure about the order of the steps, see our step-by-step lash lifting process. Korean vs Traditional Lash Lift Kits The biggest choice when building a kit is the Step 1 formula. Korean lash lift systems are usually cysteamine-based. Traditional systems usually use thioglycolate. Both work. The difference is how they treat the lash and how much control you get. Korean lash lift Traditional lash lift Typical Step 1 active Cysteamine Thioglycolate Feel on the lash Gentler, less odour Stronger and faster acting Hold method Glue balm or adhesive-free Usually a lash lift adhesive Best for Fine, fragile or previously lifted lashes, and natural-looking results Coarse, straight or resistant lashes Posh Deluxe options Noemi Innovate Step 1 and Step 2 Thuya Permanent Gel (Step 1) and Neutraliser Cream (Step 2) Many artists keep both and choose for each client. If you only buy one system, a Korean kit suits more lash types and is more forgiving while you build experience. Read more in what is Korean lash lift. Glue, glue balm or no glue? The way you hold the lashes affects both speed and clean-up. Traditional lash lift glue is strong but can leave residue (see how to remove lash lift glue). Glue balms like Noemi Glue Balm give you time to adjust the lashes and wash off easily. Noemi Gooey Lash Lift Powder works with Noemi's cysteamine Step 1 and removes the need for adhesive altogether. Our guide to glue balm vs traditional adhesive compares them in detail. Build Your Own: 3 Professional Lash Lift Kits A full professional lash lift and tint kit costs between about $290 and $350 at Posh Deluxe. Each product does many treatments, and you only need to restock what runs out. Prices were correct as of October 2026. Kit item Korean kit (Noemi Innovate) Noemi Free Lift kit Traditional kit (Thuya) Step 1 Innovate Step 1 Cysteamine $49.95 Free Lift Step 1 $59.95 Thuya Permanent Gel $76.95 Step 2 Innovate Step 2 Fix $49.95 Free Lift Step 2 $59.95 Thuya Neutraliser Cream $76.95 Conditioning Noemi Argan Crème $29.95 Noemi Argan Crème $29.95 Thuya Regenerating Cream $32.95 Hold Noemi Glue Balm 25g $44.95 Noemi LashBond $39.95 Noemi LashBond $39.95 Shields Noemi Hybrid Shields, 4 pairs $39.95 Noemi Hybrid Shields $39.95 Noemi Hybrid Shields $39.95 Lifting brush Noemi Lifting Brush #0 $39.95 Noemi Lifting Brush #0 $39.95 Noemi Lifting Brush #0 $39.95 Tint Noemi Hybrid Dye $19.95 Noemi Hybrid Dye $19.95 Bronsun Hybrid Dye $24.95 Developer Noemi Developer Cream 3% $14.95 Noemi Developer Cream 3% $14.95 Bronsun Cream Developer 1.8% $18.95 Total $289.60 $304.60 $350.60 Optional add-ons: Noemi Intense Step 1.5 ($59.95) supports thin or fragile lashes during the lift. Bronsun Dye Remover ($19.95) cleans tint off the skin. One kit, two services Most of these products, including the shields, solutions, glue balm and brush, are made for both lash lifting and brow lamination. Once you have a lash lift kit, adding brow lamination to your menu costs very little. Browse the full Lash Lift range. How to Choose a Lash Lift Kit: 6 Things to Check Professional use only. Salon formulas are stronger and more controllable than home kits. Buy from a supplier that sells to trained artists. Refills sold separately. Make sure you can buy each step on its own. Otherwise you'll throw away half a kit when one bottle runs out. A range of shield sizes. One size doesn't fit every client. A mixed box lets you match the curl to each client's lash length. The right formula for your clients. If many of your clients have fine or previously lifted lashes, choose a Korean cysteamine system and consider a Step 1.5 treatment. Shelf life after opening. Check the PAO (period after opening) symbol and date your bottles when you open them. Solutions that have lost strength give weak, uneven lifts. Matching tint and developer. Use the developer made for your dye brand, at the strength the dye maker recommends. Common lash lift kit mistakes Using one shield size for everyone. Too small gives an over-curled "crimped" lash. Too big gives a weak lift. Over-processing. Leaving Step 1 on too long is the main cause of frizzy, dry lashes. Time each step according to lash thickness. Skipping the conditioning step. Aftercare cream restores moisture and helps the lift look good for longer. Skipping patch tests. Patch test new clients 24–48 hours before their first tint or lift, and keep a record. Poor aftercare advice. Give every client written instructions. Our lash lift aftercare guide covers what to tell them. Frequently Asked Questions What do you need for a lash lift kit? You need a Step 1 lifting solution, a Step 2 fixing solution, silicone shields in several sizes, a lash lift adhesive or glue balm, and a lifting brush or tool. For a lift and tint, add a hybrid dye, a matching developer and a conditioning cream. What is a Korean lash lift kit? A Korean lash lift kit uses a gentler, usually cysteamine-based Step 1 solution. It's often paired with a glue balm or an adhesive-free hold. It suits fine or fragile lashes and gives a softer, more natural lift. How much does a professional lash lift kit cost in Australia? Built from professional products at Posh Deluxe, a complete lash lift and tint kit costs about $290–$350 (October 2026 prices). Each product covers many treatments. Can I use a lash lift kit for brow lamination? Many professional lifting systems, including the Noemi and Thuya products in this guide, are made for both lash lifts and brow lamination. Always follow the manufacturer's processing times for brows, which are different from lashes. Is it better to buy a boxed lash lift kit or build your own? For professional artists, building your own is usually better. You choose the formula and shield sizes that suit your clients, and you only restock what runs out. The Bottom Line The best lash lift kit is one you build around your clients. Start with a Step 1 and Step 2 system that suits the lash types you see most. Add a range of shield sizes, a hold you're comfortable with, and a good brush. Then finish with tint and conditioning to make it a premium lift-and-tint service. Ready to build your kit? Shop the full Lash Lift range at Posh Deluxe, with professional lifting systems, shields, glue balms and tints shipped Australia-wide.
Learn more