

Your photos are your portfolio. Most new clients will see your work on Instagram, TikTok or Google before they ever sit in your chair, and a blurry, badly lit photo can make a beautiful set look average.
Close-up macro shots fix that. They show what clients can't see from arm's length: clean isolation, even fans, smooth mapping and no stickies. They also show other artists, and future students, the quality of your technique.
This guide covers the gear you need (just your phone and a few small tools), how to set up the shot, a six-photo shot list for every set, and how to edit and post without losing detail.
The Gear You Need
You don't need a professional camera. A recent smartphone, a macro lens, good light and a steady hand will produce photos that look like they came from a studio.
Built-in iPhone macro vs a clip-on macro lens
Recent Pro-model iPhones (from the iPhone 13 Pro) have a built-in macro mode that switches on automatically when you get close. It works, but you have to hold the phone very close to the eye, often around 2 cm away. That can cast a shadow over the lashes and feels intrusive for the client. A clip-on macro lens is made for detail shots, and it works on almost any phone.
| Built-in iPhone macro | Clip-on macro lens | |
|---|---|---|
| Cost | Free on supported iPhones | From $44.95 |
| Works on | iPhone 13 Pro and later Pro models | Almost any phone (clip), or a matching case for a steadier fit |
| Distance from the eye | Very close, about 2 cm | Designed for close-up detail work |
| Shadows | Phone often blocks the light | Easier to light the eye evenly |
| Best for | Quick everyday snaps | Portfolio, Instagram and education content |

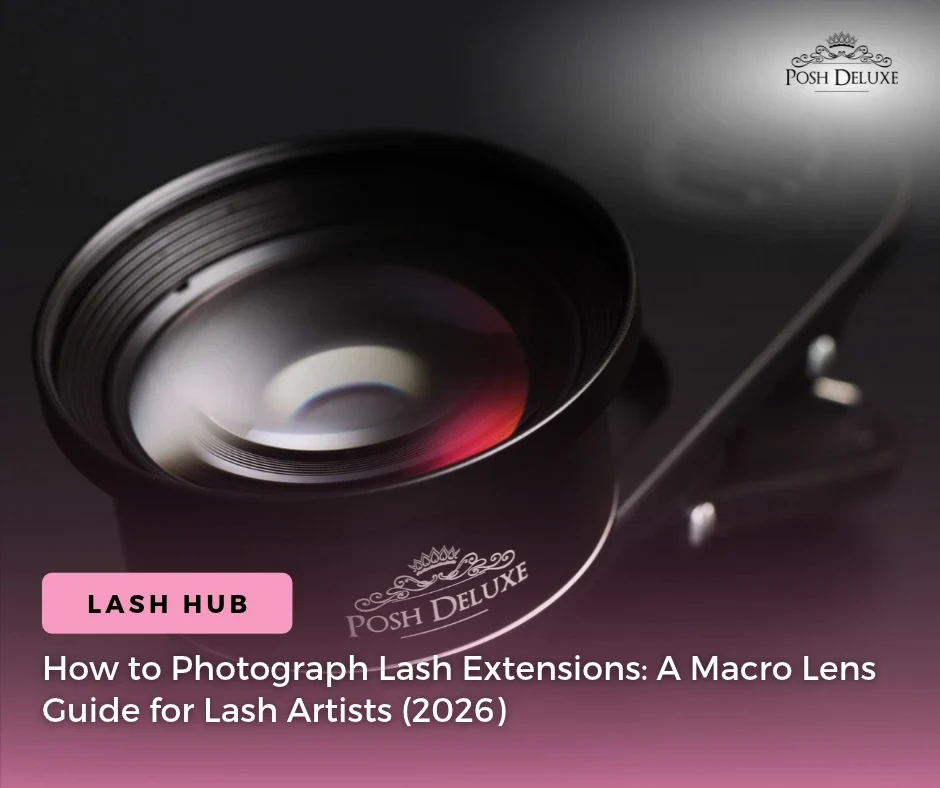
The Posh Deluxe Mobile Macro Lens has an aluminium body, precision glass and a listed 40–75 mm focal range. It comes with a clip, case and cleaning cloth ($44.95). You can also get it with a matching iPhone case ($64.50) for the iPhone 13, 14 and 15 Pro and Pro Max. The case holds the lens perfectly lined up with the camera, so there's no slipping between shots.
Lighting
Light matters more than the lens. You want soft, even light from the front, never harsh overhead light.
- A ring light or lash lamp placed in front of the client gives even light and a nice catchlight.
- Daylight from a window is beautiful but changes during the day. Face the client towards the window, not away from it.
- Turn off mixed light sources. Warm room lights plus a cool lamp give lashes an odd colour cast.
Stability
Macro shots magnify every wobble. Rest your elbows on the lash bed or use a small phone stand. Take the photo with the volume button or a 3-second timer, so tapping the screen doesn't shake the phone.
How to Take the Photo, Step by Step
- Finish and check the set first. Brush through with a clean spoolie and check for stickies under magnification. A macro lens shows every flaw, so fix them before you shoot. LED magnifying glasses make this final check much easier.
- Clean the skin. Remove eye pads, tape marks and any glue residue. Wipe away shine on the lid if it reflects the light.
- Position the client. Have the client sitting up or lying back with eyes gently closed and relaxed. Squeezed lids crease the skin and push the lashes out of line.
- Set up the light in front of the client at eye level.
- Clean the lens. Fingerprints on the phone camera or the macro lens are the most common cause of hazy photos. Use the cloth that comes with the lens.
- Find the focus distance. Move the phone slowly towards or away from the eye until the lashes snap into focus. With a macro lens, small movements matter, so move the phone, not the zoom.
- Tap to focus on the lash line, then lower the exposure slightly so black lashes don't lose detail.
- Take a burst. Shoot 10–15 frames from each angle and keep the sharpest one.
The 6 Photos to Take of Every Set
Take the same six shots of every client and you'll never run out of content.
| Shot | How to take it | What it shows |
|---|---|---|
| 1. Before | Natural lashes, eyes closed, same light and angle as the after shot | The starting point for a before-and-after |
| 2. Eyes closed, straight on | Phone level with the lid, both eyes in frame | The overall shape and symmetry of the set |
| 3. Side profile | Phone at the outer corner, level with the lashes | Curl, length and lift |
| 4. Macro lash line | Macro lens, filling the frame with the lash line | Isolation, clean bases and no stickies |
| 5. Macro fans or mapping | Macro lens on the outer third | Fan spread, or how your lash map flows. Close-ups also show smooth transitions. |
| 6. Eyes open | Client looking slightly up, phone at eye level | How the set looks in real life |
Keep the light and phone position the same for before and after shots, so the only thing that changes is the lashes.
Editing and Posting Your Lash Photos
Edit lightly
- Do: crop, straighten, and adjust brightness, contrast and white balance so the skin looks natural.
- Do: sharpen slightly to bring out lash detail.
- Don't: edit the lashes themselves, add lashes, or fill gaps. Clients book based on your photos, so they need to show what you actually deliver.
- Don't: use heavy beauty filters. They blur the very detail the macro lens captured.
Get client consent
Always ask before you photograph a client or post their photo. Add a photo consent line to your consultation form, and let clients choose whether you can show their full face or only the eyes. Closed-eye macro shots are often an easy yes, even for clients who don't want their face online.
Posting tips
- Post the before and after side by side, or as a carousel.
- Name the set in the caption, for example classic, hybrid or volume, plus the curl and length. Other artists love the detail, and clients learn what to ask for.
- Add your suburb and booking link. Consistent, high-quality photos are one of the best ways to get lash clients.
Frequently Asked Questions
Do I need a macro lens to photograph lashes?
Not strictly. Recent Pro-model iPhones have a built-in macro mode. A clip-on macro lens is easier to use for lash work, because you don't have to hold the phone right up against the client's eye, and it's easier to light the eye evenly.
What is the best macro lens for iPhone lash photos?
Look for a lens with good glass, a sturdy body and a way to keep it lined up with the camera. The Posh Deluxe Mobile Macro Lens has an aluminium body, precision glass, and an optional matching case for the iPhone 13, 14 and 15 Pro and Pro Max.
What lighting is best for lash photos?
Soft, even light from the front, such as a ring light, a lash lamp or daylight from a window. Avoid overhead lights and mixing warm and cool light.
Why are my lash photos blurry?
The usual causes are a dirty lens, camera shake, or being slightly outside the focus distance. Clean the lens, steady your elbows, take a burst, and move the phone slowly until the lashes come into focus.
Can I post photos of my clients' lashes?
Only with their permission. Add a photo consent line to your consultation form, and let clients choose between eyes-only and full-face photos.
The Bottom Line
Great lash photos come down to a clean set, soft front light, a steady phone and a macro lens that shows the detail. Take the same six shots of every client, edit lightly, and you'll build a portfolio that sells your work for you.
Show off every detail. Shop the Posh Deluxe Mobile Macro Lens, with or without a matching iPhone case, shipped Australia-wide.


